Anthony Scavarelli, Ph.D.
Portfolio
Research
Posts
About
Contact
Circles: An XR Learning Framework
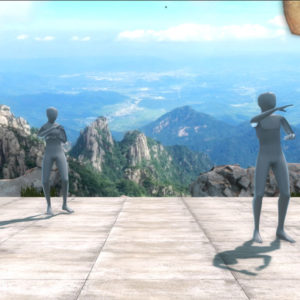
Tai Chi Kinect Exhibit
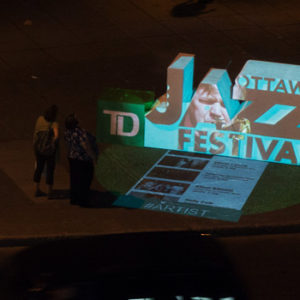
TD Ottawa Jazz Festival
Invest Ottawa Light Installation – “Paths”
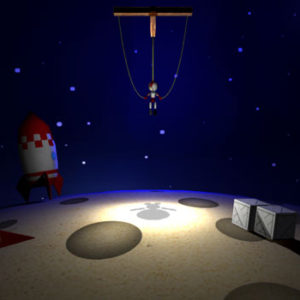
Cinekid Festival – “Virtual Marionette”
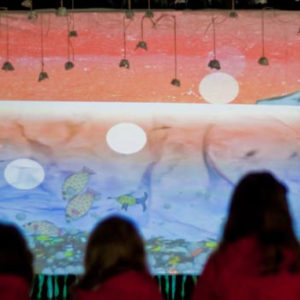
Ottawa Children’s Festival – “Under The Sea”
Cinder Frameworks Deferred Renderer WIP
Procedural “City Builder” for Autodesk Maya
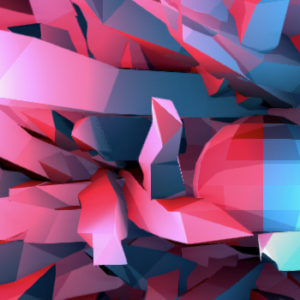
Medusae
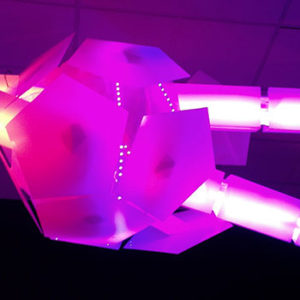
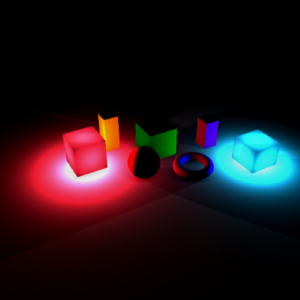
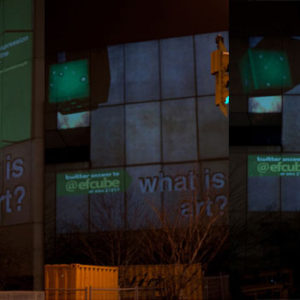
Electric Fields Festival – “The Philosopher Cube”
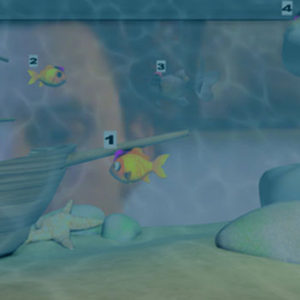
Interactive Aquarium
Interactive Music Visualizer
Show More